All this fermentation business seems to be going to my head. It used to be, when I would triage our incoming CSA bundle, I would think to myself: What gets eaten raw? What am I going to cook? And what scraps are going to end up in the compost? Now, I think: What can I ferment?
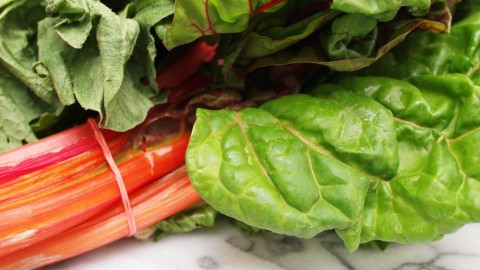
Last week, when the CSA came a’calling, I found two things that really captured my imagination. We got two bundles of radishes, greens and all. And we got a bundle of Swiss chard.
The latter — I have to admit — I don’t like. I’ve tried a lot of ways to cook chard over the years, but my general range of reactions goes from meh to bleh, and more often than I’d like to admit, the chard has ended up as compost fodder.
The former — I love. Radishes are among my favorite treats from our friends at Lancaster Farm Fresh, and they almost always get eaten out of hand. But they usually come with a big lush head of greens. It usually seems to me that I should do something with them. But they, too, seem to end up in the compost more often than I’d like.
Well not this time, friends.
This week’s experiment comes from the kimchi / sauerkraut school of lacto-fermentation, in which otherwise unpalatable greens are given spices, and time, and encouraged to sour into piquant, delicious condimenthood. This week’s experiment combines greens that would likely otherwise get thrown away (in my house) with garlic and hot peppers, and transforms them into a mouthwatering, nutritious accompaniment for all kinds of foods, including — as it turns out — Sunday-morning elaborate breakfast.
I’m going to show you how to do it. And it’s super easy. But first, credit where credit is due. As I said in my last post, everything I’m learning about lacto-fermentation I’m learning from Sandor Katz’s The Art of Fermentation. It’s a book that I really like, and so too should all of you!
1 kilogram Mixed Acerbic Greens (radish greens and chard in this version, but I imagine that dandelion, turnip, and mustard greens would be really tasty in this context, too.)
4 Cloves of Garlic, minced
4 tsp Sea Salt
1 tbsp Liquid Whey (it must have active cultures, so the sort you skim off yogurt would be best)
1 Fresh Cayenne Pepper, minced*
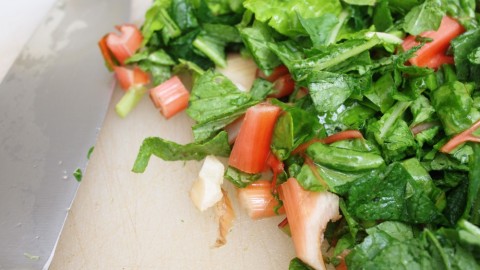
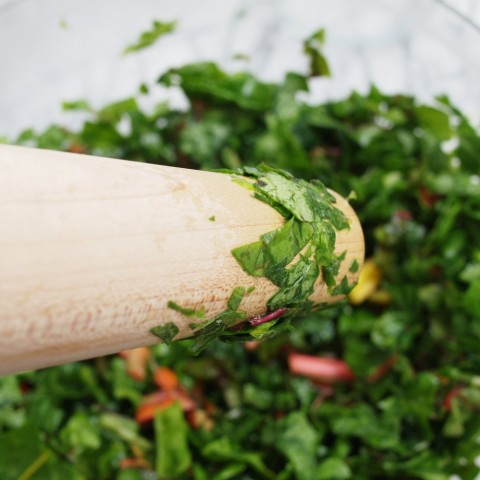
Wash the greens thoroughly, and chop them fine. In a bowl, combine with all of the other ingredients, and use a potato masher, or the end of a rolling pin, or your hands, to bruise them. The object here is to damage their cell walls enough that you have greens, plus liquid enough to just about submerge them when you go store them for fermentation.
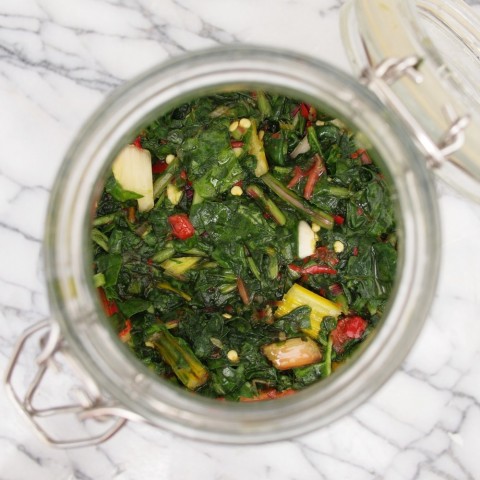
Once the greens are bruised, pack them in a jar. Pour the liquid over them, and press them down until they are just about submerged (although the liquid needn’t actually come up over the level of the greens). If there isn’t enough liquid, you may add one or two teaspoons of filtered water.
Cover the jar loosely (so that gas can escape), and put it in a cool dark place to ferment.
To prevent mold-growth, you’ll want to stir the greens once per day, or so, and use a spoon to push them beneath the liquid. They should be tangy and ready to eat after a week, though they’ll probably be better after ten or fourteen days.
Serve as a condiment with meat, or eggs, or roasted fresh vegetables, and enjoy!
* Instead of whey and a cayenne pepper, I actually used 2 tbsp of chili paste that I fermented myself. But — I figure — you probably don’t have any of that around.


