Looking through the archives this morning, I discovered that ages ago, among the legacy posts that came over from my Livejournal, I actually had a recipe for ciabatta. In that post, I wrote that I was dissatisfied with my recent attempts in almost every way, and that I was kind of figuring artisan baking out as I go along.
Darn right, I say. Looking back at that bread, I can see the way it was a work in progress. I can see that, though I make some good observations about rustic bread, the recipe itself leaves a lot to be desired. And I can imagine (if I think very well of my former self) that that old post was screaming out for a revision down the road.
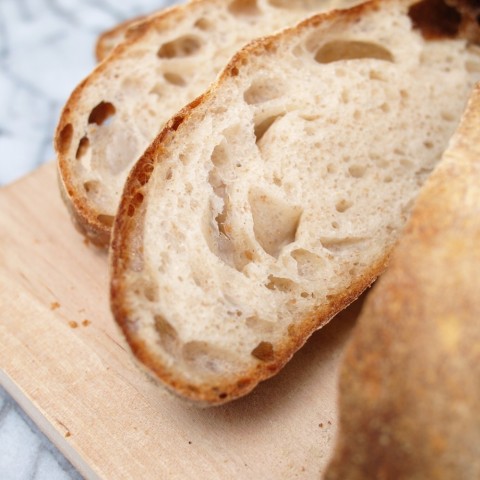
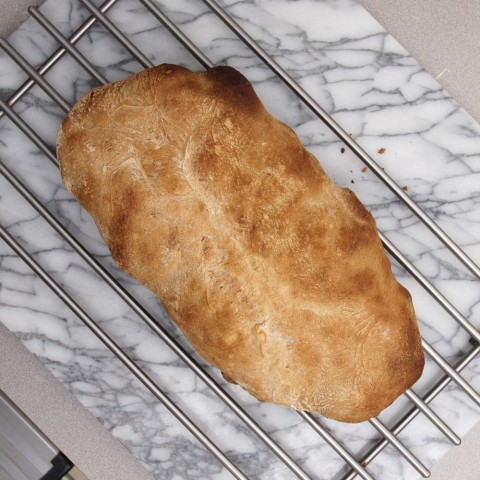
Well — here it is. Revision. Another year, another ciabatta. This one is, you might note, not characterized by quite the gaping open crumb that you see in specimens from other quarters of the Internet. That’s on purpose. It’s because I subbed in a small proportion of whole wheat flour in an effort to improve the bread’s taste. And it worked. If you don’t like it — if you want a more traditionally open crumb — I can understand that. Replace the wheat flour in the recipe with white, and bake away. But I’d suggest trying it this way before you knock it. It’s got a lot more flavor with the wheat.
Meanwhile, down to baking. First, I wanted to offer you a couple of rules to help make rustic bread work in your kitchen. And then, the recipe.
1) Unlike most of the breads I post here, don’t try this one without a stand mixer. Dough over about 75% hydration is a sticky mess, and you’ll want to take steps to maximize the proportion of dough that ends up getting cooked by minimizing the proportion that ends up all over you.
2) You’ll also need some dough scrapers. See above for the reason why.
3) This is not a bread for beginners. You don’t need to be a bread expert (gods know, I’m not!) to attain a good ciabatta. But some basic experience with baking technique really helps. If you’re just setting out on your journey into bread-baking, I’d suggest starting with something like my whole grain brown bread. Still rustic, but much more easily done.
4) You need a pizza stone for this. Sad but true. Hearth baking is essential to get anything like a real rustic bread. And it can’t be done without — you know — a hearth.
5) This recipe epitomizes the reason why I give bread ingredients in weight rather than volume. A cup of flour weighs anywhere between 100-200 grams. And when you’re dealing with high-hydration bread, that difference is vast. As in: the difference between having something that just barely holds together as a dough, and something that looks much more like flour soup.
500 grams Unbleached AP Flour
430 grams Water
50 grams Whole Wheat Flour
15 grams Extra Virgin Olive Oil
1.5 tsp Salt
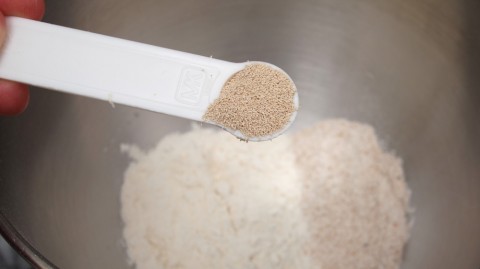
.5 tsp Dried Yeast
The night before: In the work bowl of your stand mixer, combine the yeast, wheat flour, 100 grams of the white flour, and 300 grams of the water. Mix well and allow to stand, covered, overnight.
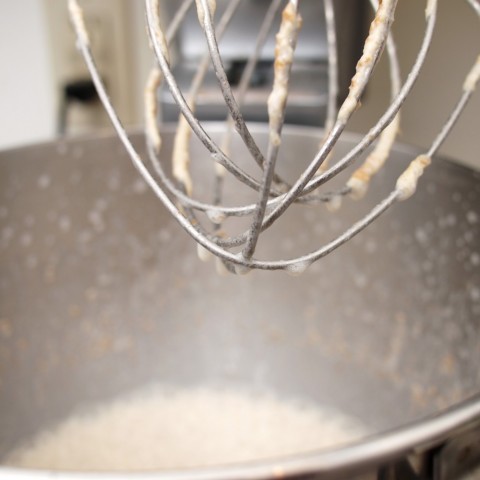
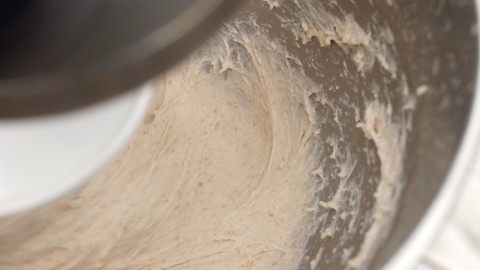
The day of: Add the remainder of the water to the work bowl, and with your stand mixer’s whisk attachment, mix on medium for about three minutes (this step is not absolutely required, but if the goal of making ciabatta is to get as much air into the dough as possible, it can’t hurt).
Add the remainder of the ingredients, switch out your whisk attachment for the dough hook, and mix on low until the dough comes together into a wet, shaggy mess. Then turn the mixer up to low-medium and knead for about 20 minutes (this dough will never stop being wet. But you will notice gluten forming).
At the end of that time, remove the dough to a well-oiled bowl, cover, and allow to rise for about three hours, giving it a stretch-and-fold once after 20 minutes, and again after an hour (instructions for stretching and folding may be found here).
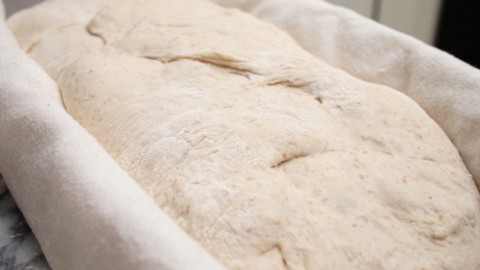
When the dough is risen, set up your pizza stone for baking and preheat your oven to 500F. Remove the dough to a well-floured pastry board. Gently stretch the dough into an oblong oval, then fold it longways in thirds, as you might fold a letter. Place it seam-side up into a floured baker’s couche
(or a folded flour-sack towel), cover, and allow it to proof for 45 minutes.
Then, when the dough has proofed, flip it over, out of the couche, onto a floured pizza paddle. Slide it into the oven, onto the pizza stone, and bake for 25 minutes, turning the bread halfway through.
Allow the bread to cool to room temperature before slicing.
(You can, of course, find many more fabulous bread recipes through Wild Yeast’s YeastSpotting Archive!)
