Looking through the archives this morning, I discovered that ages ago, among the legacy posts that came over from my Livejournal, I actually had a recipe for ciabatta. In that post, I wrote that I was dissatisfied with my recent attempts in almost every way, and that I was kind of figuring artisan baking out […]
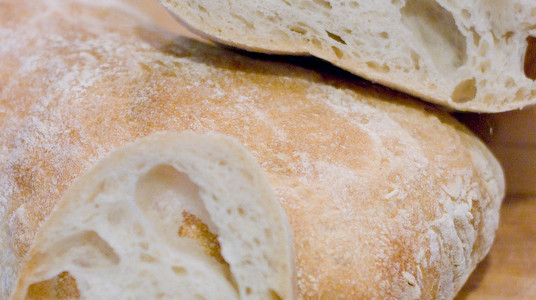
Ciabatta