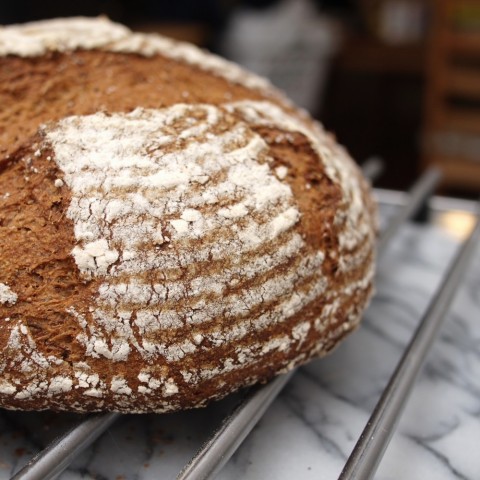
I love spent grain bread. It’s one of my very favorite things about brewing.
You see: brewing is sort of a wasteful process. You take eight or ten or twelve pounds of grain, soak it in water, and convert the runnings from that little bath into five gallons of sweet wort, and then eventually into five gallons of beer.
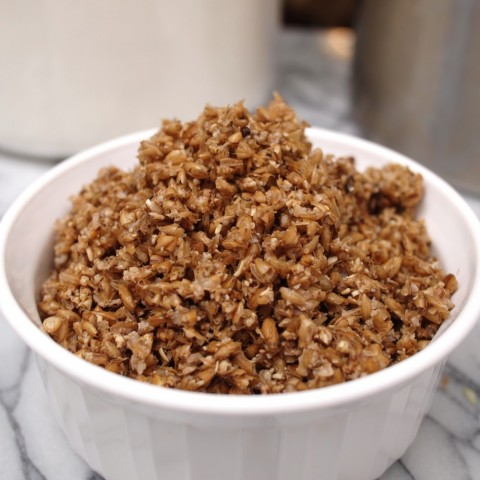
And all of that is great. And tasty. But when the process is done, it’s not as though the grain has disappeared. It’s given up its sugars to the noble cause of fermentation. But at the end of the day — once the wort is in the bucket — you still have a big, soggy pile of husks and what-have-you left over. And about that, something must be done.
It helps to have a compost pile. I don’t know a lot about the chemistry of compost. But I do know that the microbial life that converts yard waste into nutritious dirt loves — loves! — spent grains. Sarah and I toss them into the bin and in what seems like no time at all, they’re gone. Digested. Swept away by the pixies that keep our garden’s ecology going.
But even so — even though I know that by composting the grain, I’m turning it into something good — it always seems a shame to just make it disappear. One of the habits I’ve picked up brewing is to chew on spent grain while I’m doing my boil. And though it’s nothing you’d want to swallow in that state — it’s plenty tasty. Those maltsters, after all, know how coax flavor from their catch.
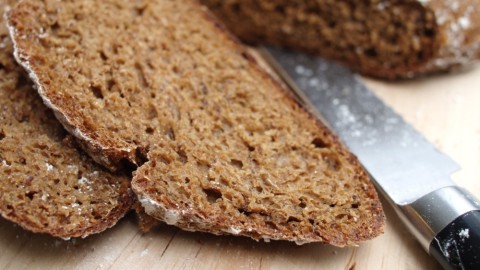
And so, with that in mind, one thing I’ve started doing is holding back some of the spent grains. I’ve been sticking them in the freezer in individual two-cup packages, with the idea that I’ll bake with them later. Most of the grain still gets composted. But between brewing days, I get four or five chances to make lovely, rich, moist-in-the-middle spent grain bread that’s high in fiber, and hardy enough that one or two slices is, by itself, enough to constitute a meal.
It’s lovely. And I’d highly recommend that you try it.
Before I show you how it’s done, though, a quick note: this, like the ciabatta I did a couple of weeks ago, is not a beginner’s bread. The dough is wet and hard to work with. It helps to have a stand mixer. And it’s imperative that you have a baking stone.
If you have some experience baking, I say go for it. Otherwise, you might want to lower the hydration to somewhere between 360 and 370 grams of water. Or you might want to look at this whole grain brown bread, which will be much easier to do.
400 grams Water
400 grams Whole Wheat Flour
150 grams Unbleached AP Flour
1 1/2 cups Spent Grains from brewing*
1/4 cup Flax Seeds (either ground or whole)
3 tbsp Molasses
1 1/2 tsp Salt
1/2 tsp Yeast
The Night Before: To the workbowl of your stand mixer, add 200 grams of the wheat flour, 400 grams of water, and the yeast. Mix thoroughly, and allow to stand covered on the counter overnight.
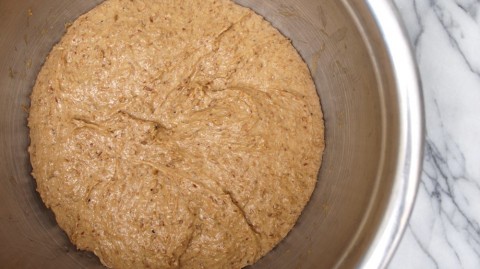
The Day Of: Add the rest of the ingredients to the bowl. With the dough hook attachment of your stand mixer, mix on low until everything comes together. Then turn the mixer to medium (I use setting 4 on the Kitchen Aid), and knead for about fifteen minutes. It will look more like batter than dough at first. But not to worry — it will firm up, at least a little.
When the dough is kneaded, form it into a ball as best you can and move it to an oiled bowl. After twenty minutes, and then again after forty, stretch and fold the dough, following the instructions here (this will firm it up considerably). Then allow it to rise, covered, for another two and a half hours, or until it has more than doubled in size.
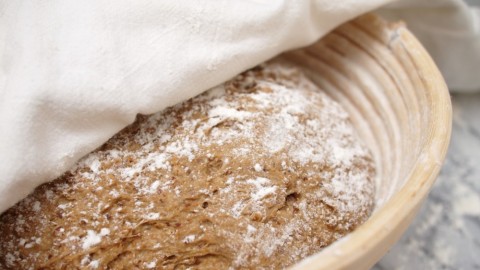
When it is risen, move the dough to a well floured board (or counter). Gently form it into the shape of your choice (I chose a boule because I have a really convenient round brotform). Cover, and allow to proof for 50 minutes.
While it is proofing, set your oven up for hearth baking (yes — a stone, or at least an inverted cast iron pan
, is essential for this bread), and preheat it as high as it will go (525F for me). Then flip the dough onto a parchment-lined pizza paddle, slide it into your oven, lower the oven temperature to 450F, and bake for 40 minutes, turning the bread halfway through.**
When the bread is cooked, remove it to a wire rack and allow to cool completely before slicing. It is especially well suited, I find, to breakfast. With jam. And maybe also Nutella.
(You can, of course, find many more fabulous bread recipes through Wild Yeast’s YeastSpotting Archive!)
* This recipe may also work with other cooked whole grains. But I haven’t tried it, so I couldn’t say for sure. Experiment! Then let me know!
** For improved crust, fill a spray bottle with water; and for the first two minutes that your bread is baking, spray the walls of the oven every 30 seconds. This will create steam, which will keep the surface of the bread moist, and allow a thicker crust to form. If you do this, don’t turn the oven down to 450F until you’ve finished. Opening the oven every 30 seconds loses a lot of heat.
